
My Experience with Erector Sets
Boys Should be Boys!
Your Guide to the A.C. Gilbert Company
A.C. Gilbert Made Millions by Feeding the Dreams of Young Boys
Do you think they believed that the set would allow them to build something that big?

Join Us on Facebook
After a whole lot of preparation, I have finally finished this page on Erector Sets. This has been one of my continuing interests from childhood through my current senescence. With the complete restoration of the fabled "Number 12 1/2 Walking Giant" set (ca 1949), I now have a complete collection of the metal box Erector sets that were made during my lifetime. So, it's time to share what I have learned with you.
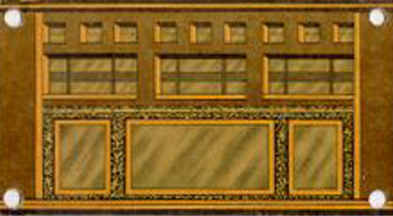
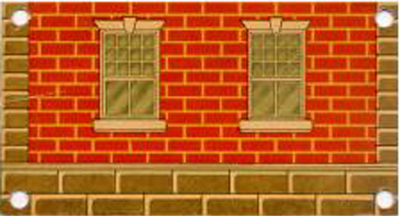
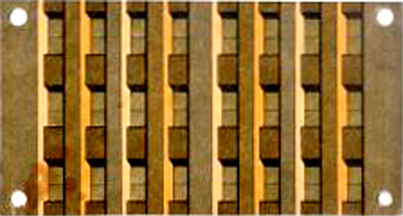
Click on a Box to Go There

Boy Engineering Library

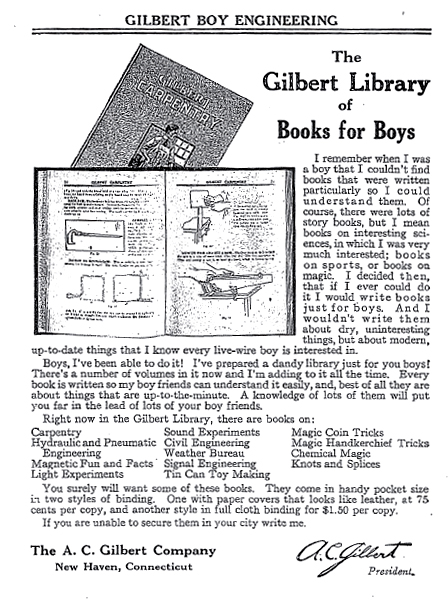
The Gilbert Boy Library
Click to Enlarge
In addition to the vaunted Boy Engineering booklet
All the books mentioned above are available in the Free Downloads Section
Some of you (i.e. folks coming in from Search Engines) have a very focused need for information. We have specially prepared the following list just for you.
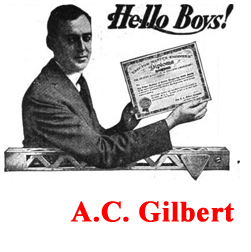
All About A.C. Gilbert- Who was A.C. Gilbert?
- How did A.C. Gilbert sell things to Boys?
- What was Gilbert's Competition like?
- Mr. Gilbert Patents the Vibrator
- How can I learn more about A.C. Gilbert?
- Rationale for the Erector Set in the 21st Century
- Contact me about something
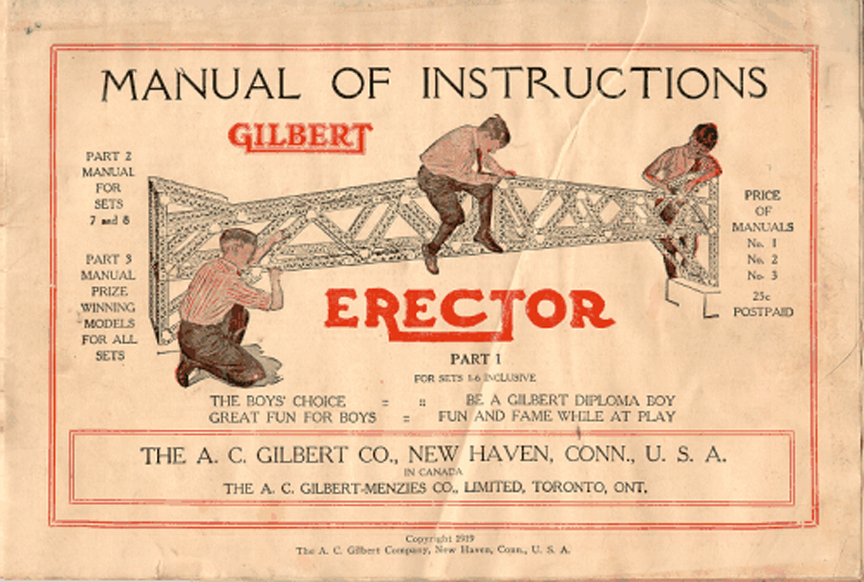
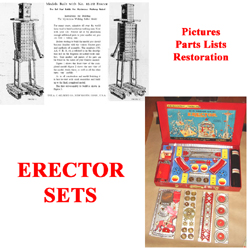
Erector Sets
- What is this "1/2" Business?
- A Slide Show From the "How-to-Make-em books"
- Pictures of MY Erector Sets
- My Experience in Restoring Erector Sets
- Erector Patents
- Free Download Stuff
- Contact me about something
Science Kits
Brief look at Chemistry, Microscope and other Science Kits
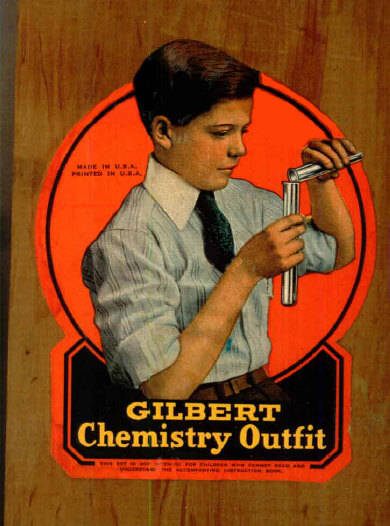
- The Gilbert Chemistry Set
- The Gilbert Atomic Energy Set
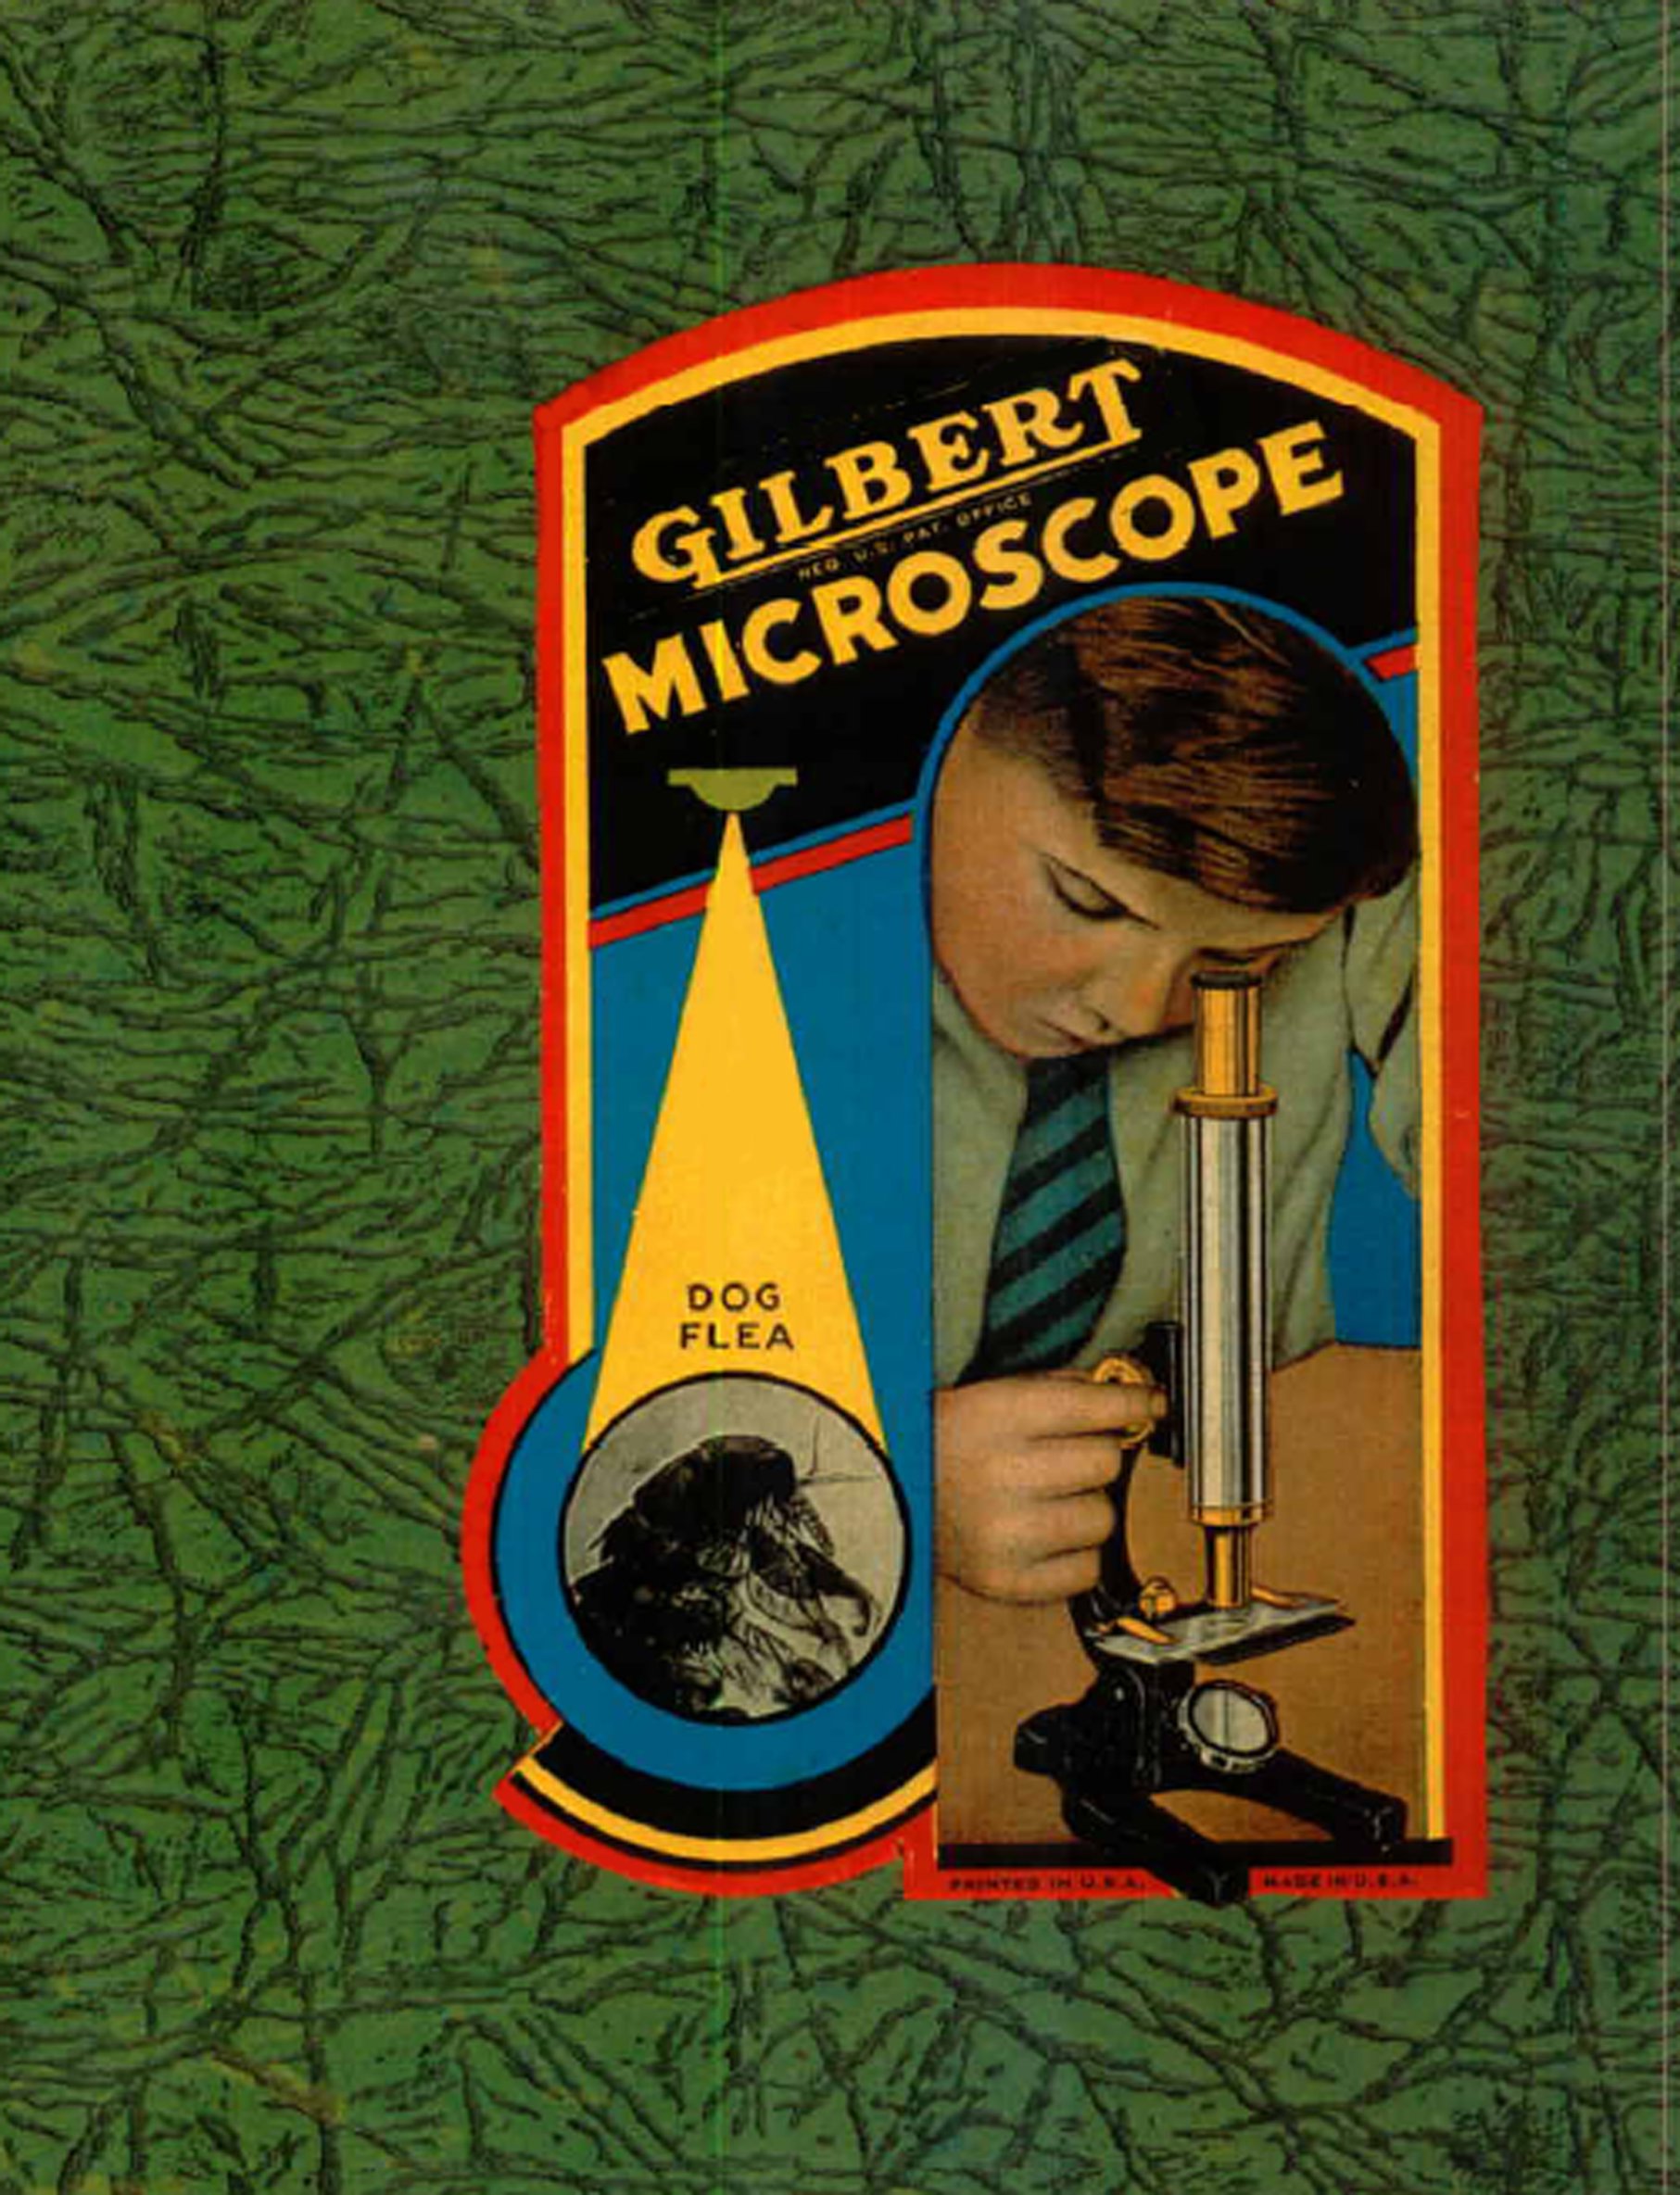
- The Gilbert Microscope Set
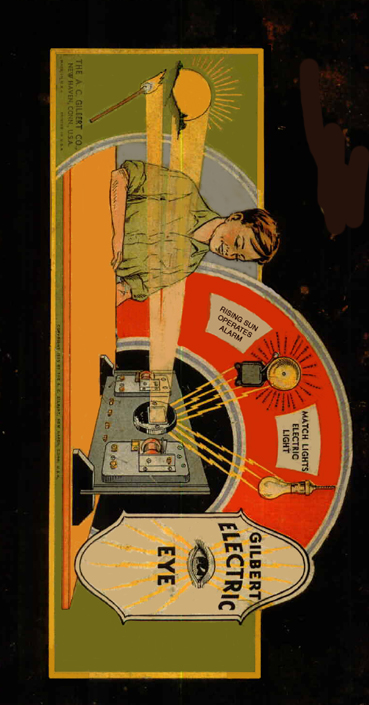
- The Gilbert Electric Eye Set
- The Gilbert Metal Casting Set
- The Gilbert Air-Kraft Set
- The Gilbert Glass Blowing Set
- The Gilbert Machine Gun
- The Gilbert Optics Set
- The Gilbert Hydraulics Set
- The Gilbert Signalling Set
- The Gilbert Magnetism Set
- The Gilbert Soldering Set
- The Gilbert Erector Brik Sets
- The Gilbert Big Boy Tool Sets
- The Gilbert Elementary Electricity Set
- The Gilbert Lighting Set
- 66 Stunts With an Electric Motor
- Mysto Magic Sets
- Dexterity Puzzles
- Contact me about something
- The Gilbert Atomic Energy Set
The End of the Gilbert Company
The Last Days of the Gilbert Company
- The Gilbert Chemistry of Plating and Paints Set
- The Gilbert Pottery Set
- The Gilbert Slot Car Set
- Moon McDare Action Figure
- James Bond Action Figure
- Honey West Action Figure
- U.N.C.L.E. Action Figures
- Martian Magic Set
- Model Airlanes
- Gilbert Watches
- Contact me about something
- Gilbert Toy Catalogues
- The 1958 Catalogue
- The 1948 Catalogue featuring Superman!
- Science leads the Way Advertising Comic Book
- Adventures in Science Advertising Comic Book (Whole File), Easy-to-download parts below
- Adventures in Science Advertising Comic Book Part One
- Adventures in Science Advertising Comic Book Part Two
- Adventures in Science Advertising Comic Book Part Three
- Erector Set Downloads
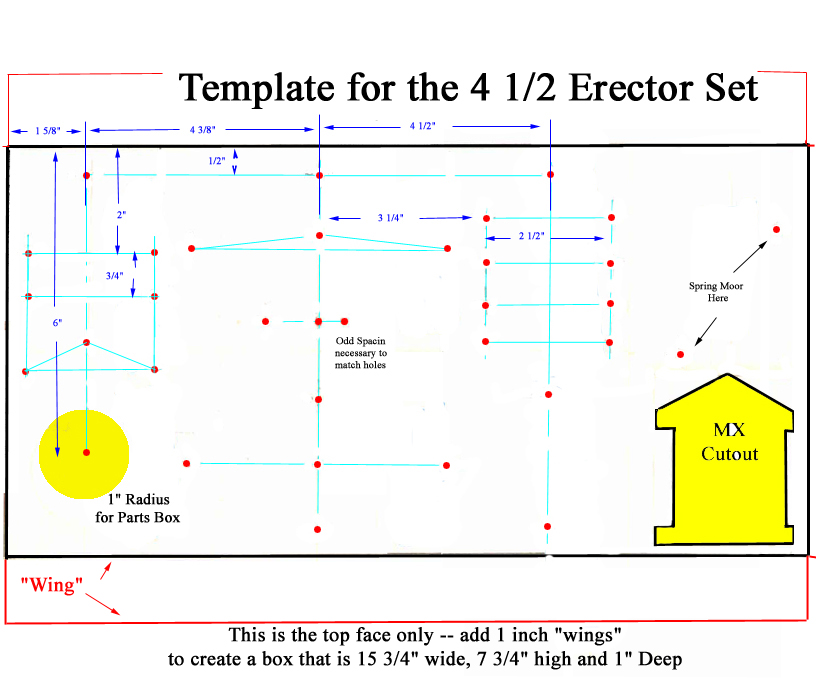
- Template for the 4 1/2 Set (193 KB)
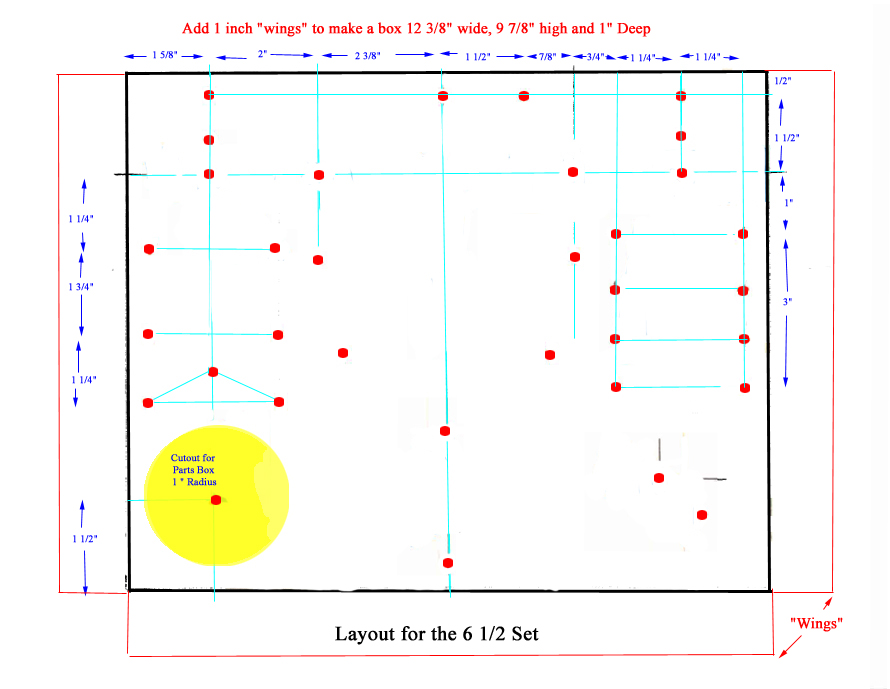
- Template for the 6 1/2 Set (187 KB)
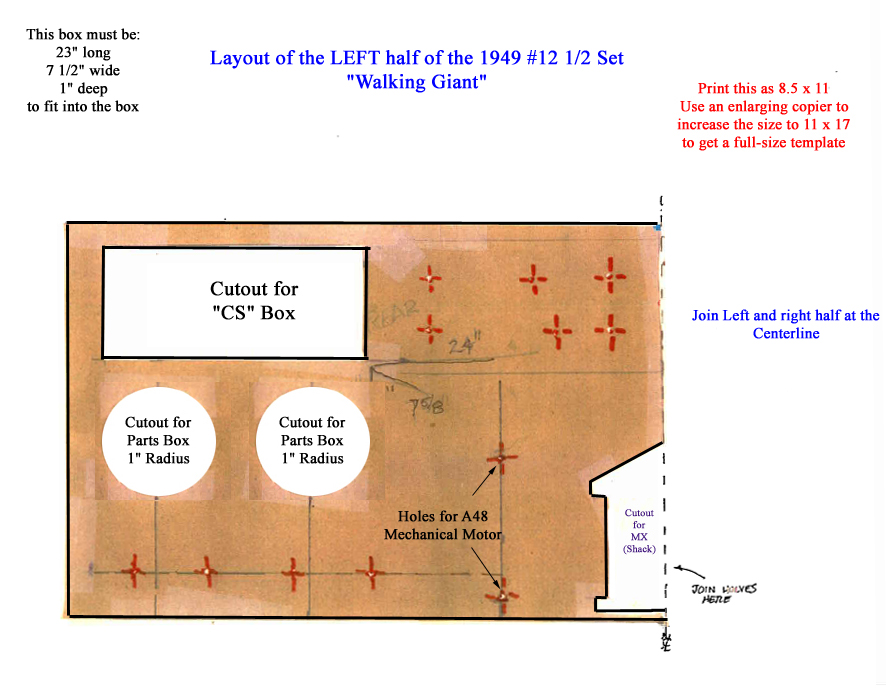
- Template for the 12 1/2 Lower Box (Left Half) (289 KB)
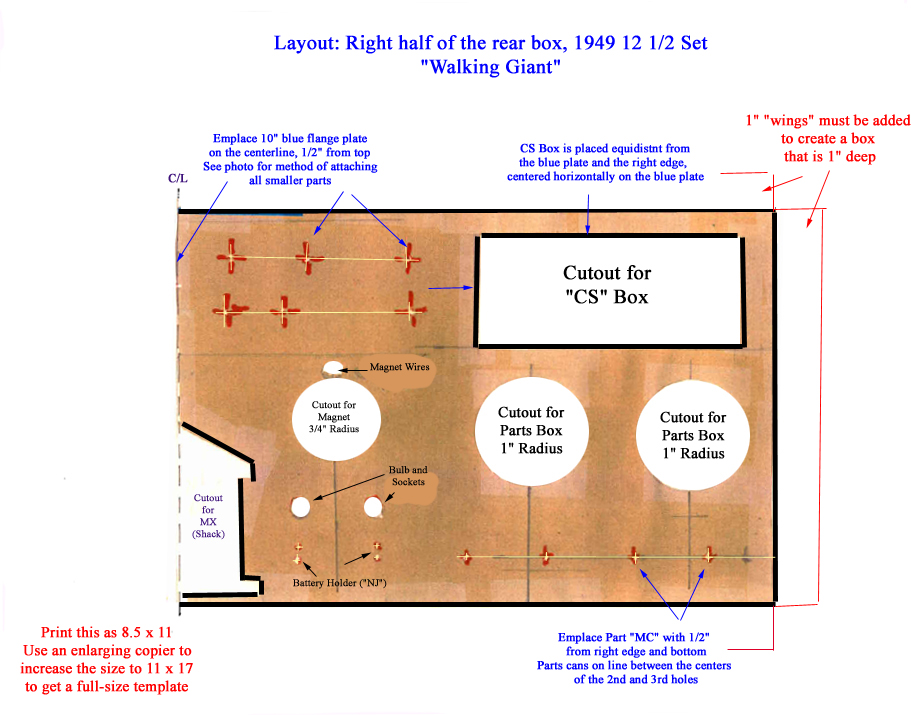
- Template for the 12 1/2 Lower Box (Right Half) (354 KB)
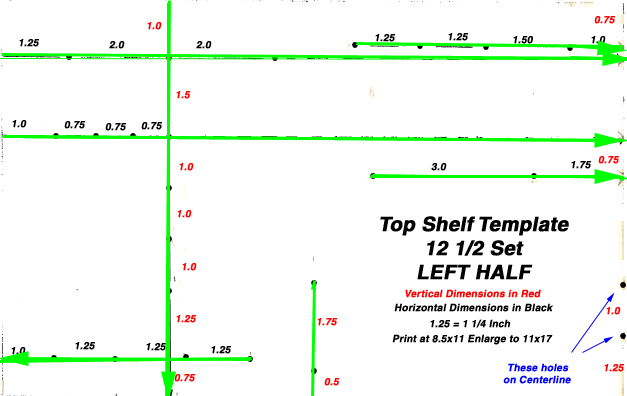
- Template for the 12 1/2 Top Shelf (Left Half) (122 KB)
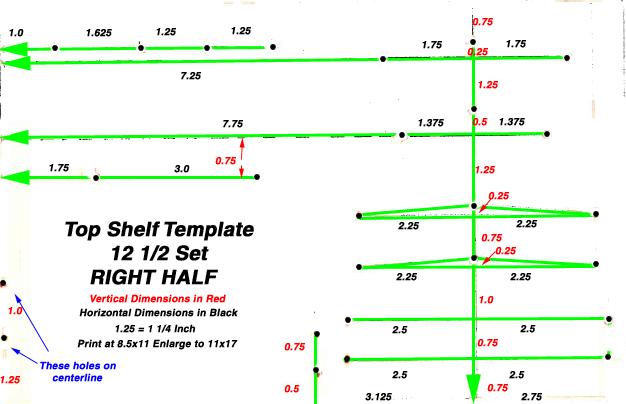
- Template for the 12 1/2 Top Shelf (Right Half) (97 KB)
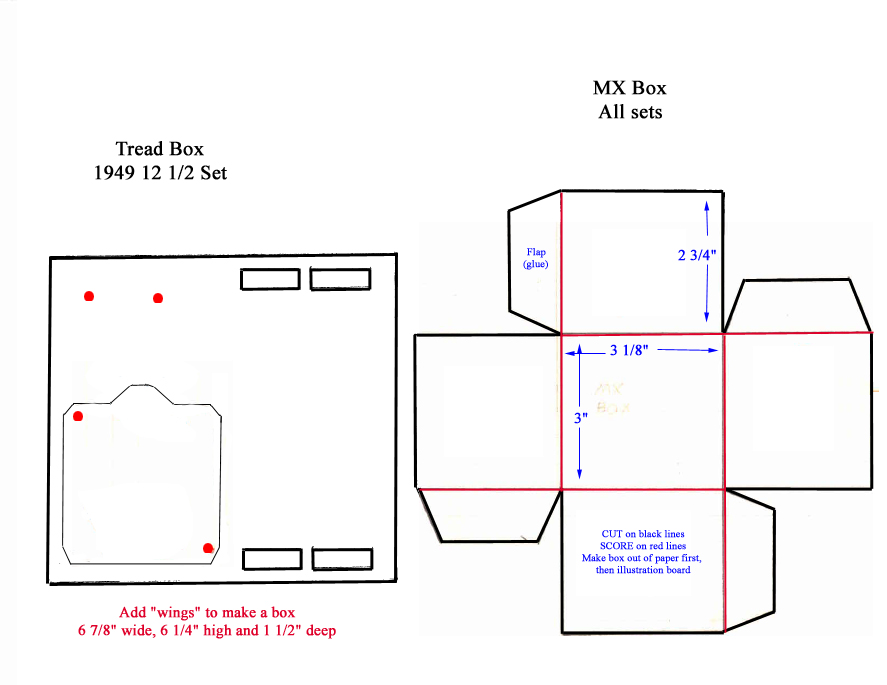
- Template for the Tread Box and MX Box (128 KB)
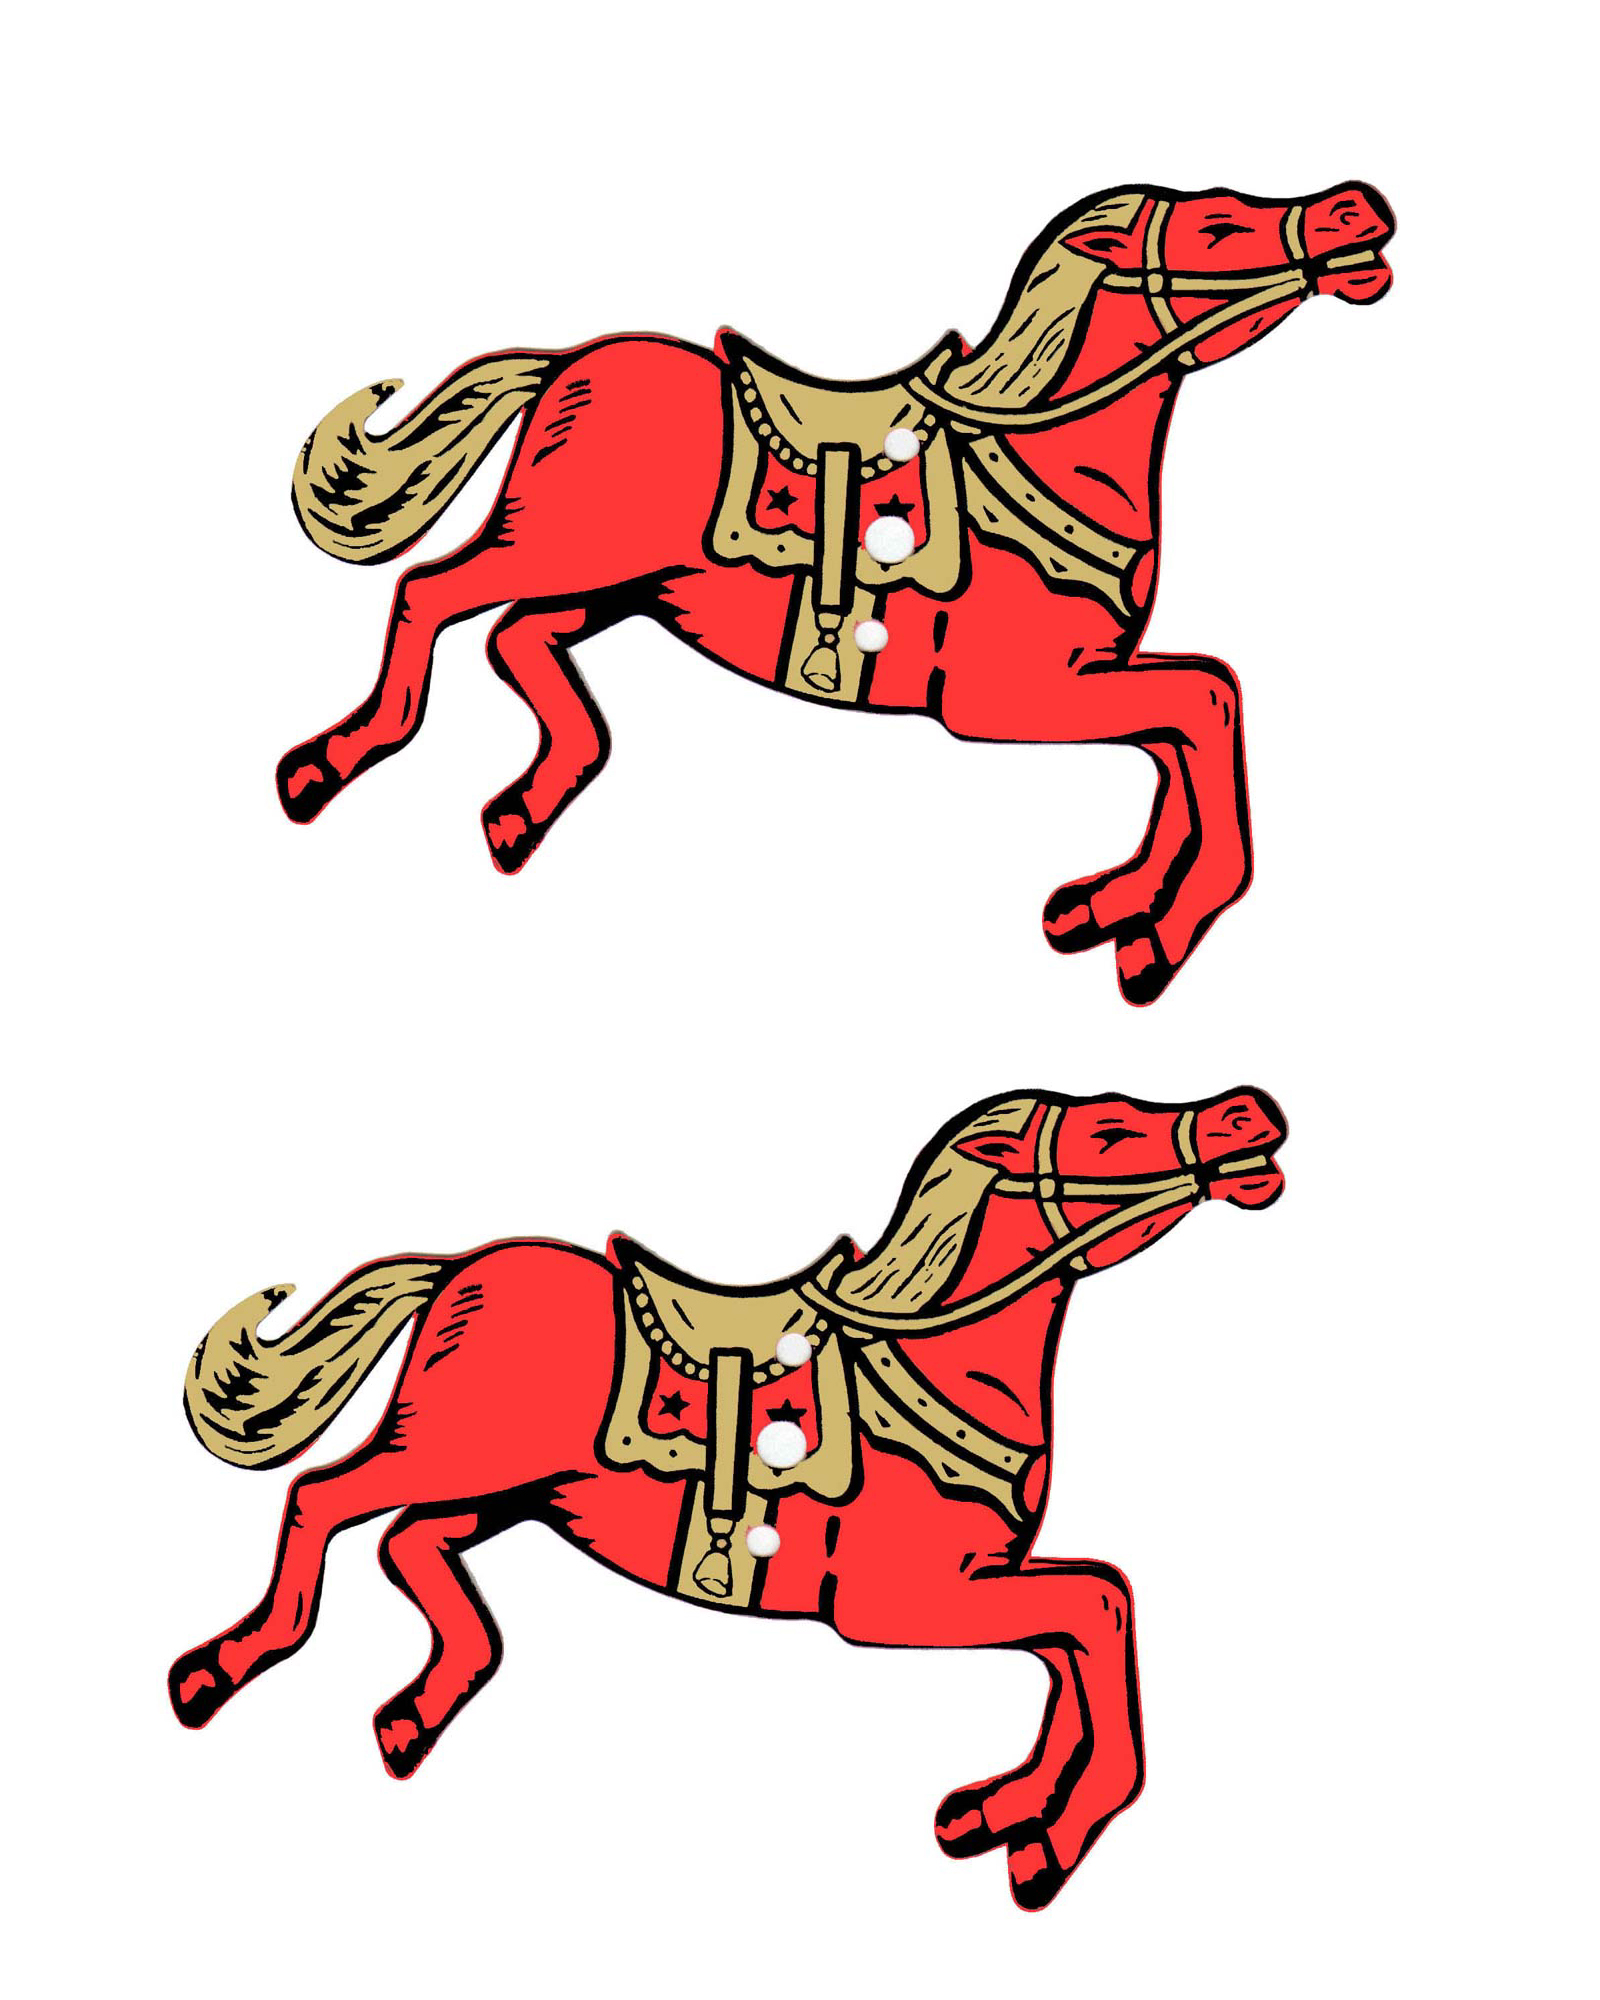
- Part OF - Two Carousel Horses (896 KB)
- Part NU - Front and Back for 4 Parajumpers(667 KB)
- Eight Parts Can Labels (619 KB)
- Covering for the Constructioneer Parts Box (277 KB)
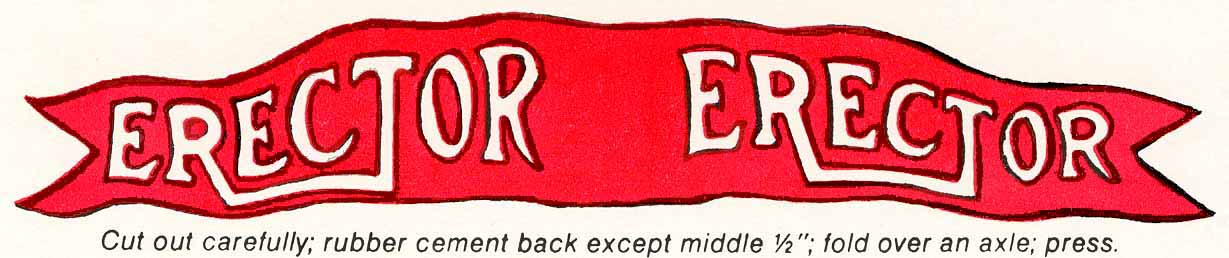
- Part AJ - The Erector Flag (64 KB)
- Kneeling Boy Outer Box Label (249 KB)
- Handy Tags for Your Sets (249 KB)
- The No. 7 1/2 "White Truck" Manual
- Part One (2.4 MB)
- Part Two (3.0 MB)
- Part Three (3.1 MB) (Includes Price List for 1928)
- The No. 8 1/2 Hudson Locomotive and Tender Manual
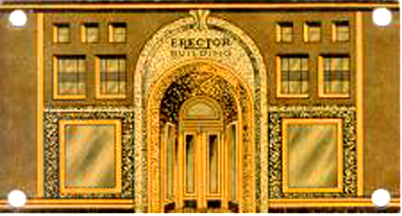
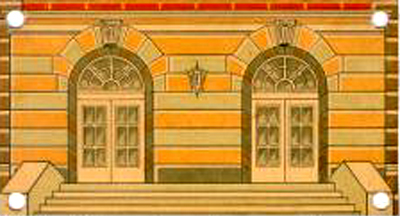
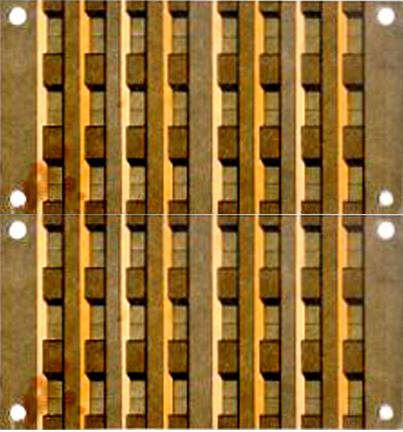
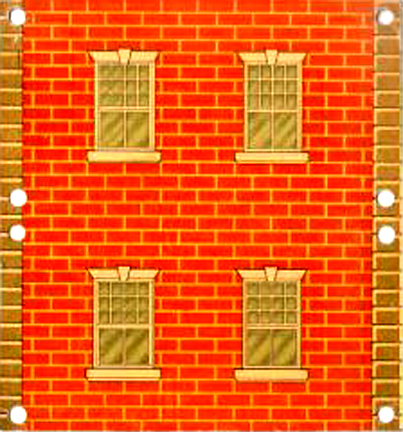
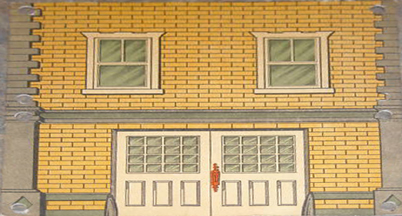
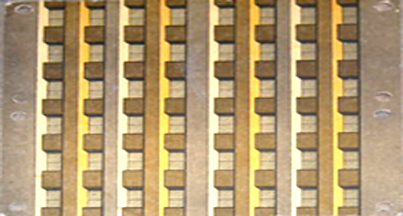
- The Skyscraper Panels
- Chemistry Set Items
- Box Label for the Chemistry Set (204 KB)
- Test Tube Labels for Chemistry Set (272 KB)
- Blank Chemistry Set Test Tube Label (15 KB)
- Blank Chemistry Set Envelope Label (71 KB)
- Gilbert Chemistry Manual for Kit No. 1 (1,440 KB)
- Complete Chemistry Manual (199 pp)
- Click here to download the Cover and Title Page
- Click here to download the Table of Contents (16 pages!)
- Click here to download Pages 24-41
- Click here to download Pages 42 - 61
- Click here to download Pages 62 -79
- Click here to download Pages 80-97
- Click here to download Pages 98-117
- Click here to download Pages 118-135
- Click here to download Pages 136-153
- Click here to download Pages 154-171
- Click here to download Pages 172-190
- Click here to download Pages 191-199
- Gilbert Chemical magic
- Click here to download Part One
- Click here to download Part Two
- Click here to download Part Three
- Click here to download Part Four
- Legacy Chemicals Brochure: a list of the 56 original (1936) Gilbert chemicals and their contemporary (2010) equivalent names.
- Chemcraft (not Gilbert) Manuals
- Porter ChemCraft Manual (c. 1955)
- Ideal-ViewMaster ChemCraft 400 Manual (c. 1987)
- Microscope Set Items
- Box label for Microscope Set (1684 KB)
- Test Tube Labels for Microscope Set (434 KB)
- Blank Microscope Set Test Tube Label (25 KB)
- Gilbert Microscope Manual
- Manual for the Microscope Set (pp 1-19) (2,670 KB)
- Manual for the Microscope Set (pp 20-37) (2,870 KB)
- Manual for the Microscope Set (pp 38-57) (3,803 KB)
- Manual for the Microscope Set (pp 58-77) (3,820 KB)
- Manual for the Microscope Set (pp 78-97) (3,112 KB)
- Manual for the Microscope Set (pp 98- 109) (1,570 KB)
- Dagwood Splits the Atom
- Click here to download pages 1-11 of this comic book (3.2MB)
- Click here to download pages 12-23 of this comic book (2.2 MB)
- Click here to download pages 24-36 of this comic book (2.5 MB)
- Manual for the Atomic Energy Set
- Click Here to download the Manual for Making Molecule Models
- Click Here to download a compendium of Science and Construction kit ads from the 1930s
- December 1936 Issue of Gilbert Thrills
- Part One (1.8 MB)
- Part Two (1.2 MB)
- Part Three (1.4 MB)
- Part One (1.1 MB)
- Part Five (1.8 MB)
- Gilbert Boy Engineering (128 pp)
- Part One pp 1-13 (1.9 MB)
- Part Two pp 14 - 33 (1.2 MB)
- Part Three pp 34 - 49 (1.0 MB)
- Part Four pp 50 - 65 (1.7 MB)
- Part Five pp 66 - 81 (2.1 MB)
- Part Six pp 82 - 97 (1.9 MB)
- Part Seven pp 98 - 113 (1.8 MB)
- Part eight pp 114 - 128 (2.2 MB)
- Gilbert Sound Experiments
- Click here to download Part 1
- Click here to download Part 2
- Click here to download Part 3
- Click here to download Part 4
- Click here to download Part 5
- Click here to download Part 6
- The Gilbert Weather Bureau (Boy Engineering Series)
- Part One (2.6 MB)
- Part Two (3.2 MB)
- Part Three (1.7 MB)
- Part Four (2.1 MB)
- Part Five (2.0 MB)
- Electric Eye Set
- Gilbert Mineralogy Handbook
- Click here to download Part One of the Mineralogy Book
- Click here to download Part Two of the Mineralogy Book
- Fun With Electricity
- The Glass Blowing Manual
- Glass Blowing Manual Pages 1-10
- Glass Blowing Manual Pages 11-20
- Glass Blowing Manual Pages 21-30
- Glass Blowing Manual Pages 31-40
- Glass Blowing Manual Pages 41-50
- Glass Blowing Manual Pages 51-60
- Glass Blowing Manual Pages 61-64
- Gilbert Hydraulics Volume from the "Boy Engineering" Series
- Gilbert Signal Engineering
- NOTE: This is 144 pages long DO NOT "OPEN" THE FILE -- Save it to your hard drive and read it without eating up bandwidth!
- Gilbert "Magnetic Fun and Facts"
- Gilbert "Boy Carpentry"
- Part One: Introduction, Types of Wood (pp 1-13)
- Part Two:Finishes, Chisels, Saws, Planes (pp 14-27)
- Part Three: Drills, Hammers, Fasteners, Joinery (pp 28-41)
- Part Four: Plans: Doll Bed, Bird House, Trellis, Automobile Cart, Checker Table, Foot Bench (pp 42-55)
- Part Five:Plans: Camp Stool, Magazine Rack, scooter, wheelbarrow (pp 56-69)
- Part Six:Marking Gauge, Armchair, Animal Trap, Workbench (pp 70-83)
- Part Seven:End Notes and Ads (pp 84-End)
- Mysto Magic Instruction Book
- Party Puzzles Instruction Book (1MB)
- The Handkerchief Tricks book
- The Knots and Splices book
- The Coin Tricks book
- Tin Can Toys - by Edward Thatcher
- This book is also available from Google Books and we are providing it free of charge
- Click here to download the whole 7.1 MB file
- PLEASE -- save it on your computer and don't try to open it from the website (conserve bandwidth!)
- Nov 18, 1946 LIFE Magazine Article about A.C. Gilbert (pp 20- 33) (893 KB)
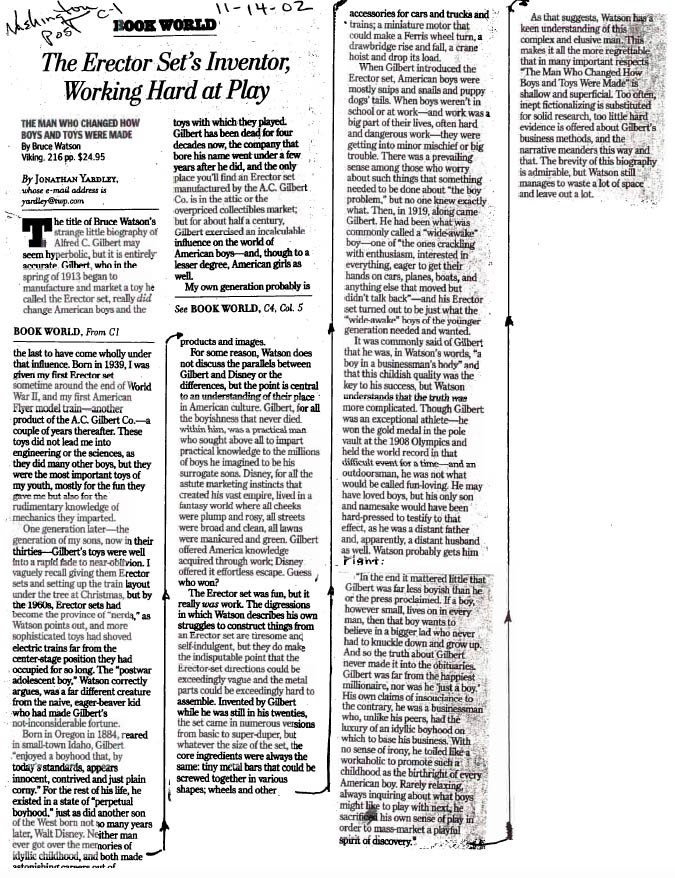
- Nov 14, 2002 Washington Post review of a Gilbert Biography (207 KB)
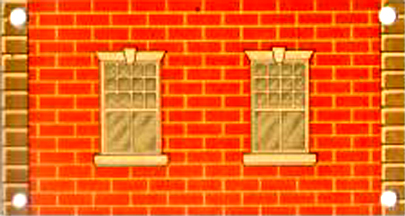
Click on a Box to Go There
Home | About Lindy | Last Week's Reviews | Upcoming Events | 1940s Collectibles
The Guide - Establishments - Travel - Accessories
Music | Links | Photo Gallery | Extras | Contact